MegaBlock_Ema
注意
该页面内容尚未更新,将于近期更新。SDK功能完整,请积极探索使用。
备注
这个样例支持AR Foundation(没有AR Foundation也可用工作),如需使用AR Foundation请参考 AR Foundation 配置 配置。
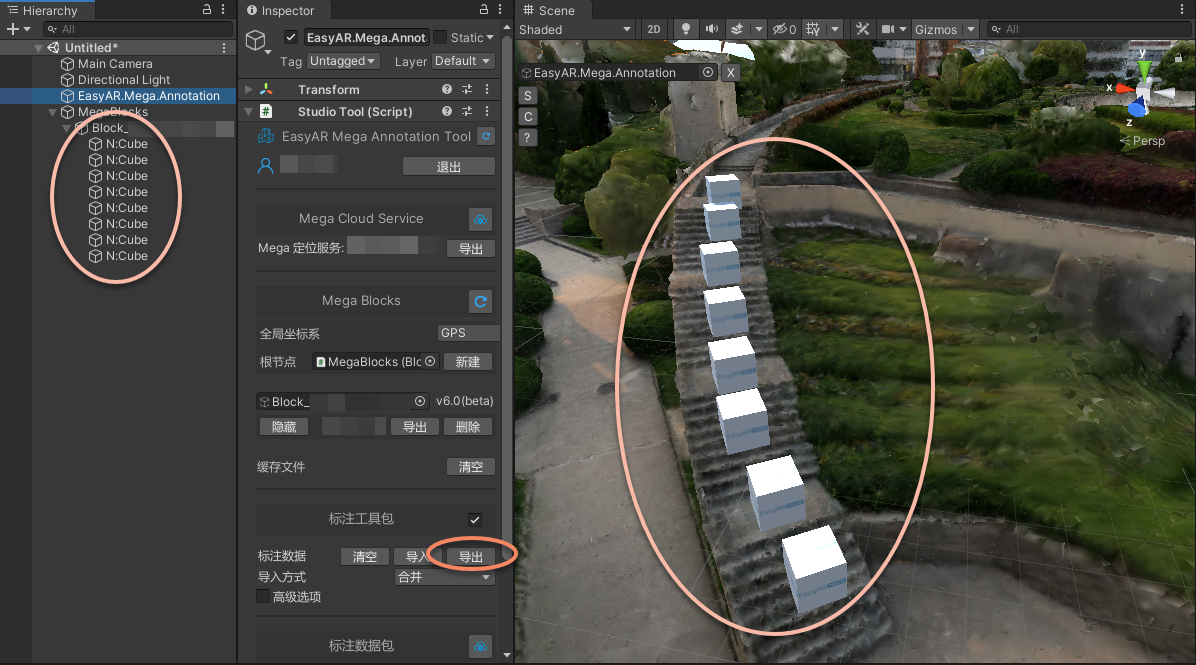
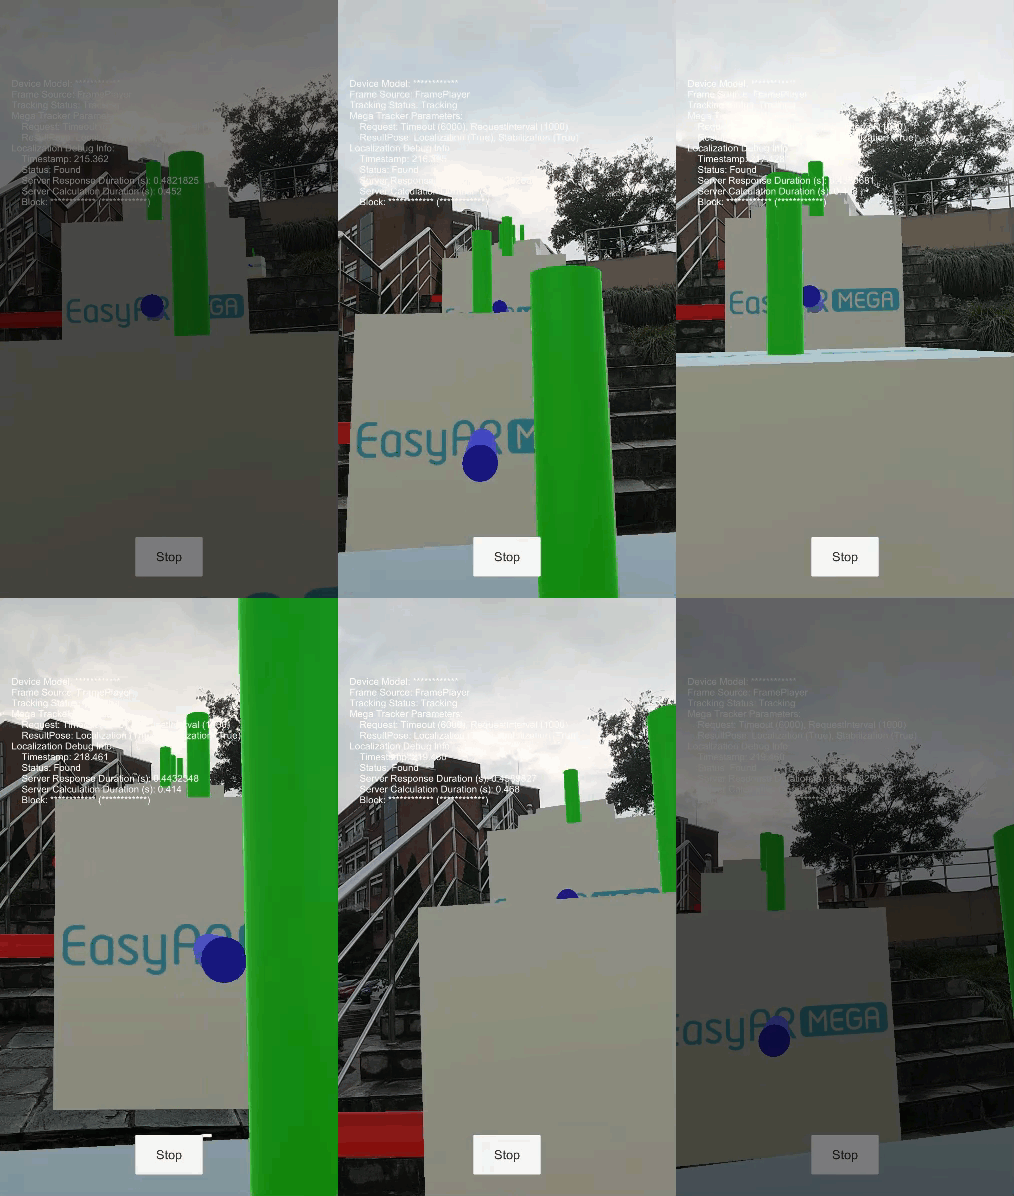
演示如何使用Mega的标注功能,通过工具导出ema文件,在ema记录的标注数据位置创建并显示3D物体,并最终运行查看跟踪效果。
注意
如果你是第一次使用Mega,不建议使用这个sample。ema的使用在大部分的Unity开发场景中是不需要的。
配置和运行
请参考 Mega Unity样例使用说明 进行配置和运行。
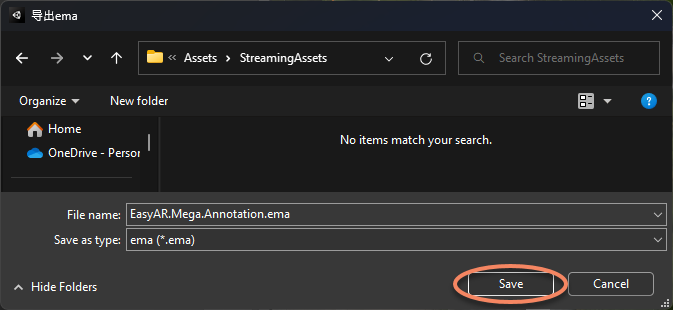
需要注意的是,要使用这个sample,你需要在另外一个Unity项目中使用 Mega Studio 标注工具 导出ema文件。

然后将ema文件放到 Assets/StreamingAssets/EasyAR.Mega.Annotation.ema 。这个路径是写在sample代码中的,可以根据需要修改。

这个sample演示了如何使用ema文件,并通过解析ema文件的标注数据在运行时创建3D物体。这种使用方式在一些特殊场合非常有用。在获取ema之后,不需要再sample场景里使用工具导入Block和摆放3D物体。
运行效果

用法

详解
场景是如何创建的?
Mega Unity从零创建可运行的工程-创建EasyAR Mega场景 这一小结的内容介绍了场景中EasyAR相关功能的创建。
3D模型在哪里?
场景中并未提供3D模型。这个sample不需要自己摆放3D模型(当然你可以随意修改以满足自己的需求)。模型是在运行时通过脚本创建的,请关注脚本中的这一段:
// here is where the "cube" or "sphere" in the sample is created
var placeholder = info.Geometry == AnnotationNode.GeometryType.Cube ? Instantiate(CubePlaceholder) : Instantiate(PointPlaceholder);
这里创建的物体会摆放在通过ema读取的标注点位上。虽然标注数据也是方块展示的,但标注工具中展示的方块并不是实际场景中的物体,而这里创建的物体也只是一个“placeholder”,与标注数据(ema文件)并无关系,你完全可以根据需要在这里使用其它模型。
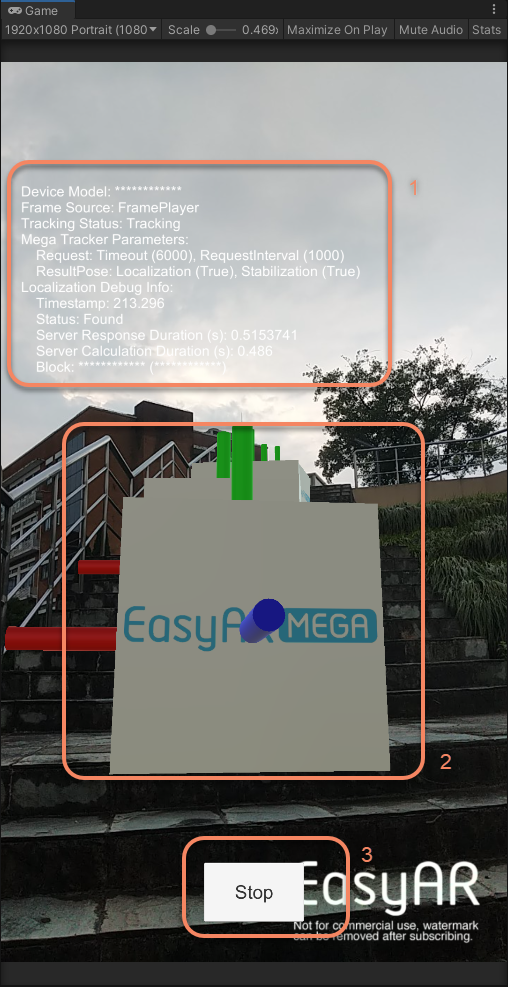
诊断信息是什么?
运行时你会发现定位信息是不断更新的,这也意味着运行时应用是不断与服务器进行通信的。这是Mega得以运行的基础,一般情况下你不应该关闭这个连接,使用过程中断开与服务器的连接将极大的影响Mega的效果。
在开发中展示并关注诊断信息是极其有帮助的,它将帮你了解系统的基本运行情况,也能在反馈问题的时候与EasyAR团队建立有效沟通。
重要
请仔细阅读 弹出消息处理及错误围栏 以及 会话状态显示及转储 ,仔细斟酌在开发阶段、测试阶段、应用上线之后应该采取何种配置,以及保留何种控制开关。请注意,与EasyAR的沟通通常需要提供这些信息,建议多利用而不是立马关闭。
需要合理处理的正常服务状态
该sample中未展示,请参考 MegaBlock_Basic 中的代码。
读取ema文件
这里使用了EasyAR Sense Unity Plugin里面封装的方法,你也可以使用Unity接口直接读取
// read ema file. Please put your ema to Assets/StreamingAssets or elsewhere you can read in scripts
StartCoroutine(FileUtil.LoadFile(EmaInStreamingAssets, PathType.StreamingAssets, (byte[] data) =>
{
    LoadEma(data);
}, (error) =>
{
    Session.GetComponent<DiagnosticsController>().EnqueueMessage(error, 20);
    throw new InvalidOperationException(error);
}));
ema解码
if (!(emaDecoded is EasyAR.Mega.Ema.v0_5.Ema ema))
{
    var message = $"ema {emaDecoded.Version} usage is not written in the sample";
    Session.GetComponent<DiagnosticsController>().EnqueueMessage(message, 10);
    throw new InvalidOperationException(message);
}
sample中简化起见,只添加了0.5版本的ema格式支持,需要使用2.0及以上版本的工具才能导出。
解析ema中的Block并添加到BlockHolder
foreach (var item in ema.blocks)
{
    var info = new BlockController.BlockInfo { ID = item.id.ToString(), Timestamp = item.timestamp };
    if (!item.keepTransform && item.location.OnSome)
    {
        blockHolder.Hold(info, item.location.Value);
    }
    else
    {
        blockHolder.Hold(info, item.transform.ToUnity());
    }
}
这一步是将Block添加到MapHolder,这样MegaBlockTrackerFrameFilter才能对Block展开跟踪。这样做所实现的效果与 MegaBlock_Basic sample中 “设置 Block Root 为工具生成的 MegaBlocks 节点”是类似的。
获取所有类型为Node的标注数据,并在对应位置创建3D物体
var nodes = ema.annotations.Where(a => (a is EasyAR.Mega.Ema.v0_5.Node node) && (node.geometry == "cube" || node.geometry == "point")).Select(a => a as EasyAR.Mega.Ema.v0_5.Node);
foreach (var node in nodes)
{
    var name = node.Name.OnSome ? node.Name.Value : string.Empty;
    var info = new AnnotationNode.AnnotationNodeInfo
    {
        ID = node.id.ToString(),
        Timestamp = node.timestamp,
        Geometry = node.geometry == "cube" ? AnnotationNode.GeometryType.Cube : AnnotationNode.GeometryType.Point,
        FeatureType = node.featureType.OnSome ? node.featureType.Value : null
    };

    // here is where the "cube" or "sphere" in the sample is created
    var placeholder = info.Geometry == AnnotationNode.GeometryType.Cube ? Instantiate(CubePlaceholder) : Instantiate(PointPlaceholder);

    if (node.parent is EasyAR.Mega.Ema.v0_5.Node.WorldParent wp)
    {
        AnnotationNode.Setup(placeholder, blockHolder.BlockRoot, info, node.transform.ToUnity(), wp.location);
    }
    else if (node.parent is EasyAR.Mega.Ema.v0_5.Node.BlockParent bp)
    {
        AnnotationNode.Setup(placeholder, blockHolder.GetBlock(bp.id.ToString()), info, node.transform.ToUnity());
    }
}
这里是根据ema 0.5格式的定义进行解析,并在对应Node的位置创建3D物体。需要注意的是,3D物体的位置与 parent 有关,以Block为parent的Node的父节点是对应的 Scene.BlockController ,而以World为parent的Node的父节点是 Scene.BlockRootController