样例使用说明
准备工作
准备Unity环境
阅读 平台需求,了解EasyAR Sense Unity Plugin支持的系统和Unity版本,然后从Unity官方获取并安装Unity。
如果你是初次使用,建议使用Unity官方的 长期支持版本 。
准备插件包
从 下载页 获取最新的EasyAR Sense Unity Plugin的发布包。sample包含在这个插件包中。
获取许可证授权
使用EasyAR Sense之前需要先在官网 www.easyar.cn 注册并 获取许可证授权 。
配置编辑器工程
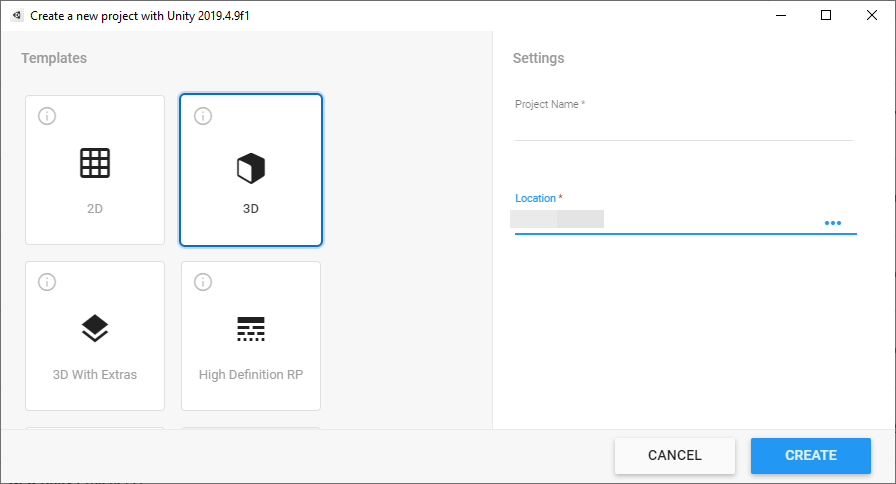
创建空Unity工程
创建工程时,Template 选择 3D。如果你在使用URP,可以参考 配置 Universal Render Pipeline (URP) 来进行配置。
添加插件包
插件使用 Unity's package 组织文件,通过 tarball 文件分发。插件的发布文件是一个zip包,解压这一个zip包可以看到readme和 tgz 文件,注意不要解压这个 tgz 文件。
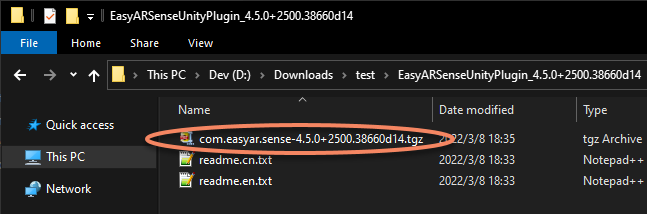
通常建议把上述 tgz 文件放在工程目录中,比如 Packages 文件夹。然后通过Unity的 Package Manager window 来 使用本地tarball文件安装插件。
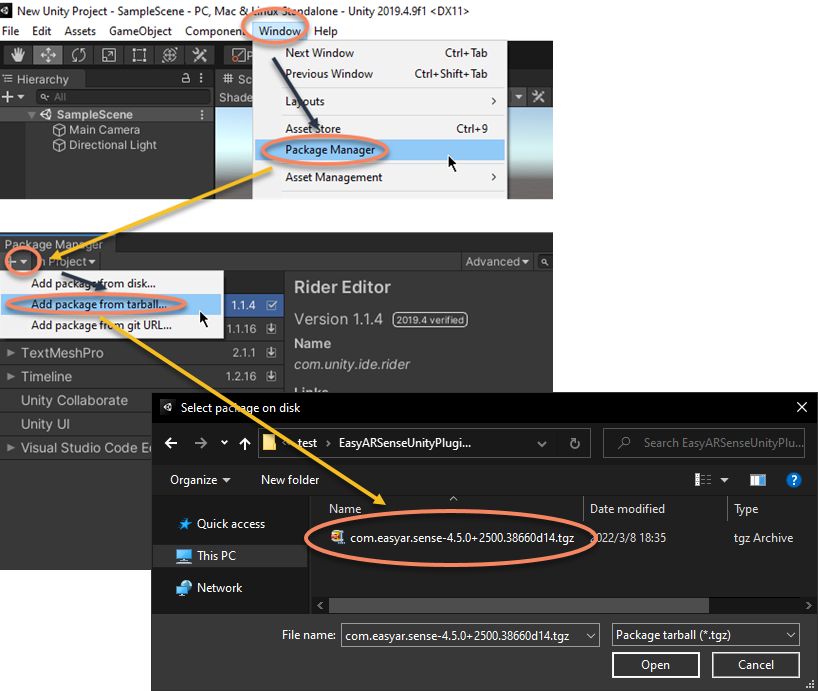
在弹出的对话框中选择 com.easyar.sense-*.tgz 文件。
注意:在导入后, tgz 文件不能被删除或移动到另一个位置,因此通常需要在导入前将这个文件放在合适的地方。如果你希望与他人共享工程,可以将文件放在工程目录内,如果有使用版本管理,也需要加入。
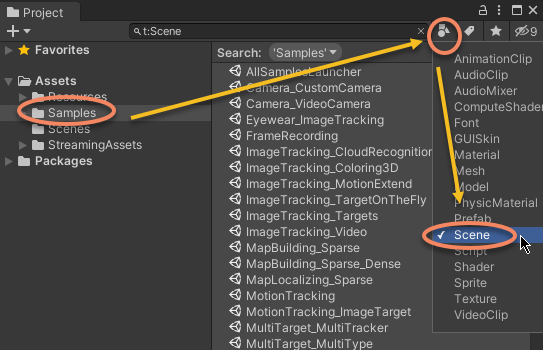
导入sample到工程
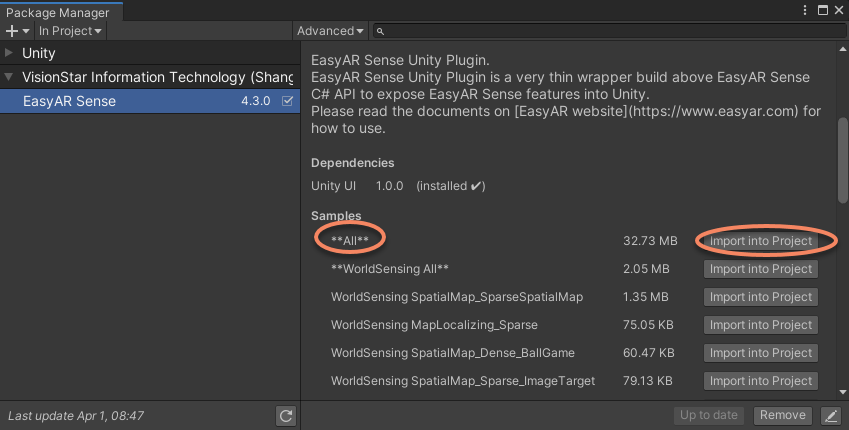
样例随插件包一起分发。可以使用 Unity的 Package Manager window 将样例导入工程中。
你可以使用 **All Handheld AR** 一次性导入所有可以在手机上运行的sample,或是使用比如 **WorldSenseing All** 一次性导入一个类别的sample。
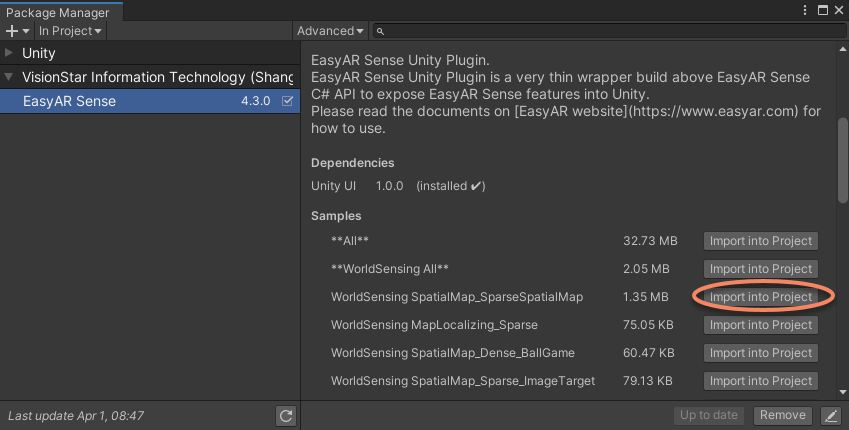
或者也可以导入名字中没有 ** 的单个sample。
注意: ** 开头的sample不能与其它sample同时导入工程,否则会出现重复资产。
眼镜的sample只能一个一个导入,且它们不会被 **All Handheld AR** 导入,这些sample没有被包含在sample启动器中。Nreal的sample会使用Nreal SDK的prefab来保持兼容性,但 Unity 2021.2 build and run 会在 prefab 不存在的时候失败,所以如果工程中没有Nreal SDK,建议不要导入这些sample。
填写许可证(License Key)
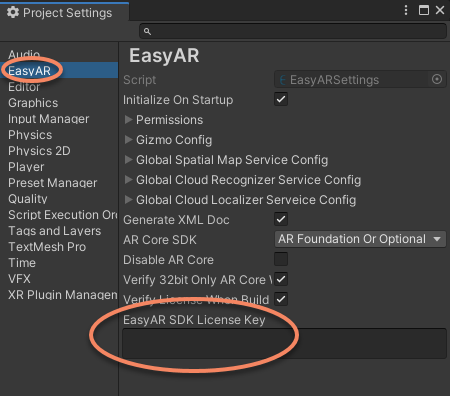
从Unity菜单中选择 EasyAR > Sense > Configuration 并在 Project Settings 面板中输入License Key。该页面也可以通过 Edit > Project Settings > EasyAR 进入。

服务配置
部分sample需要使用EasyAR服务,需要配置服务器信息
如果不使用这些sample可以跳过此步骤。
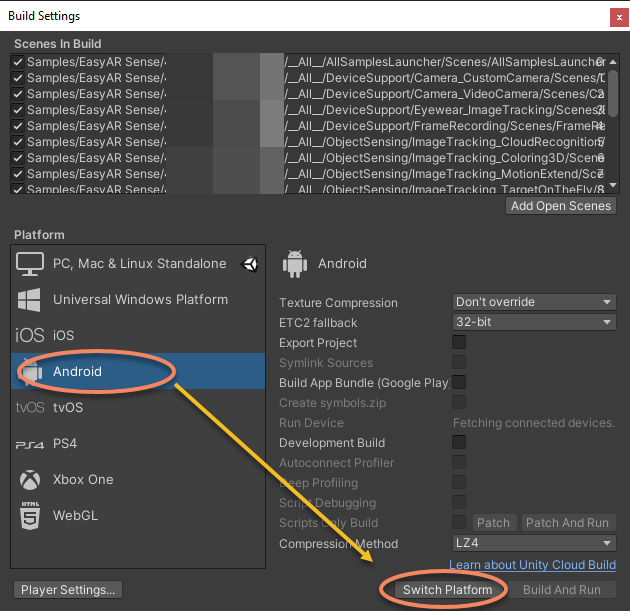
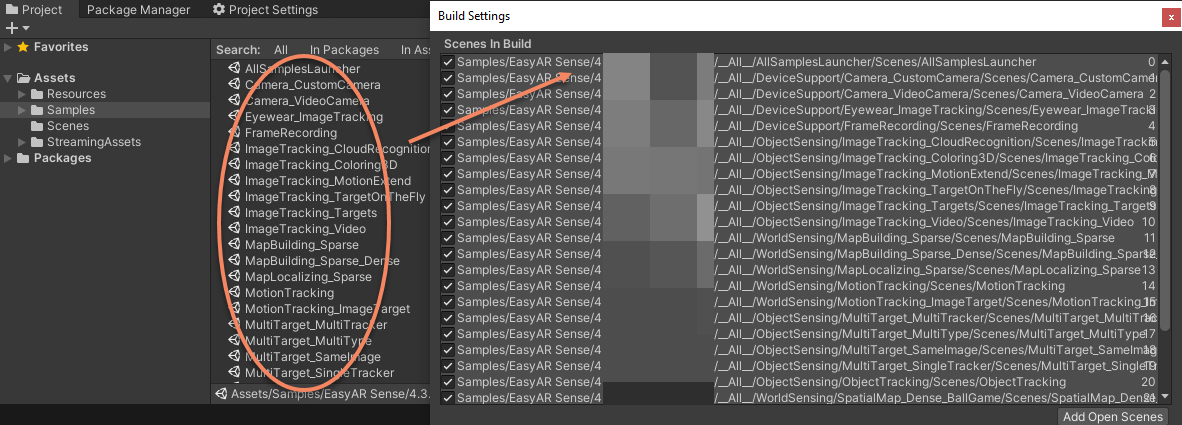
添加场景
打开 Build Settings ,
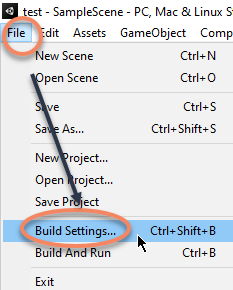
将Unity工程中的样例场景添加到 Build Settings 中。如果工程中包含启动器,将启动器的场景(AllSamplesLauncher)移动到所有场景中的第一个。
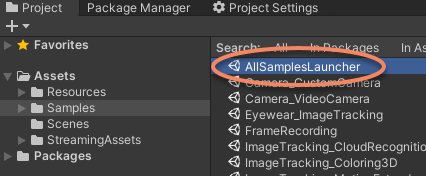
在编辑器中运行
如果存在AllSamplesLauncher 场景,可以打开这个场景以运行所有sample,或者也可以选择打开某个独立的sample场景并运行。
如果电脑上连接着摄像头,经过上面的配置之后,就可以直接在Unity编辑器中运行EasyAR Sense Unity Plugin的样例了。
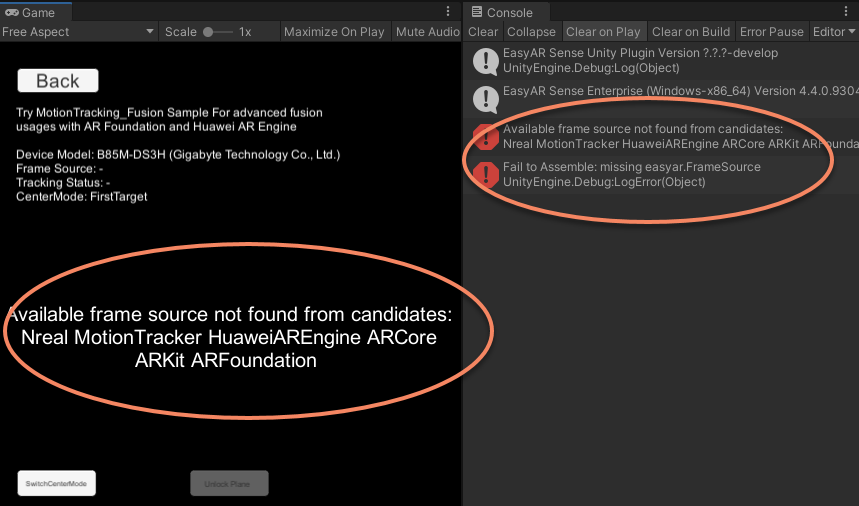
需要注意的是,并不是所有功能都可以在编辑器中运行,部分功能只能在Android或iOS设备上运行。无法在编辑器中使用的sample在运行时会有消息提示和错误log输出。
在Android或iOS设备上运行
根据 Android 工程配置 或 iOS 工程配置 配置工程,切换到目标平台然后点击Build Settings的 Build 或 Build And Run 按钮或通过其它方式编译项目并在手机上安装,运行时需允许相应权限。